We began our unit by learning and practicing three different skill sets:
- Colored pencil blending and shading (worksheet)
- Using the grid method (your choice of worksheet)
- Value mapping (your choice of sample photo sheet)
Make sure you have handed in all three of your pages (plus any extra credit practice) to Ms. Walker before you start working on your self portrait.
As you plan your project, take a look at some options and inspiration...
Create a portrait with traditional color and shading:
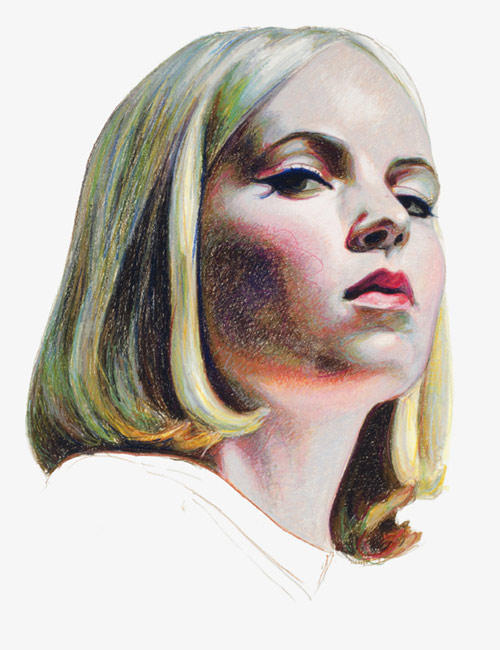 |
| Artist: Mercedes Helnwein |
If you want to learn to do realistic color blending for skin, I recommend you view some tutorials!
Video tutorial (specifically focuses on the nose, but shows use of pencils):
https://www.youtube.com/watch?v=9Q63z6GIPm0
Photo/Text tutorial:
http://bklh362.deviantart.com/art/Coloring-Skin-Color-pencils-tutorial-304256819
Intensify or change the colors:
 |
| This is a digital painting, but something similar could be done with colored pencils |
Reduce the number of different values to "cartoonify" or posterize yourself:
Draw inspiration from the famous grid portrait artist Chuck Close...
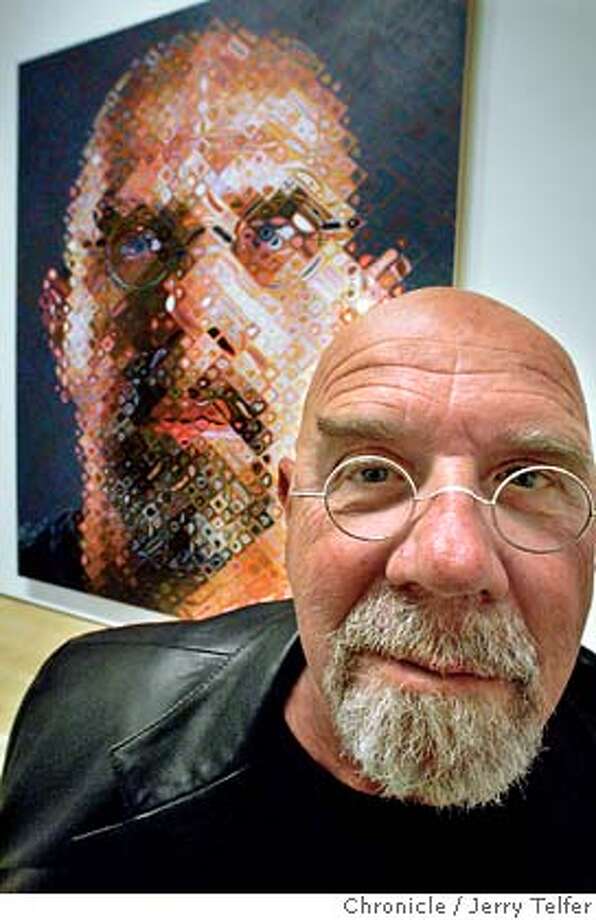 |
| Chuck Close in front of one of his self-portraits |
(we will learn more about him soon)
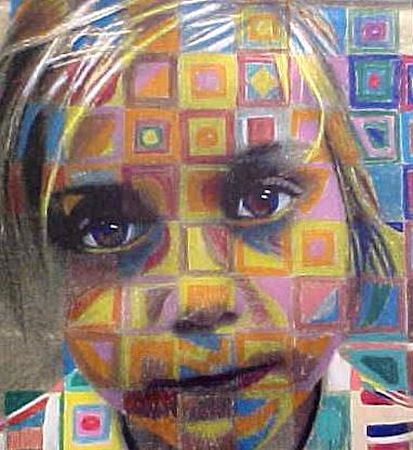
Or use the grid as an element of your design in some other way...
 |
| "For Susie Bieber" as requested |
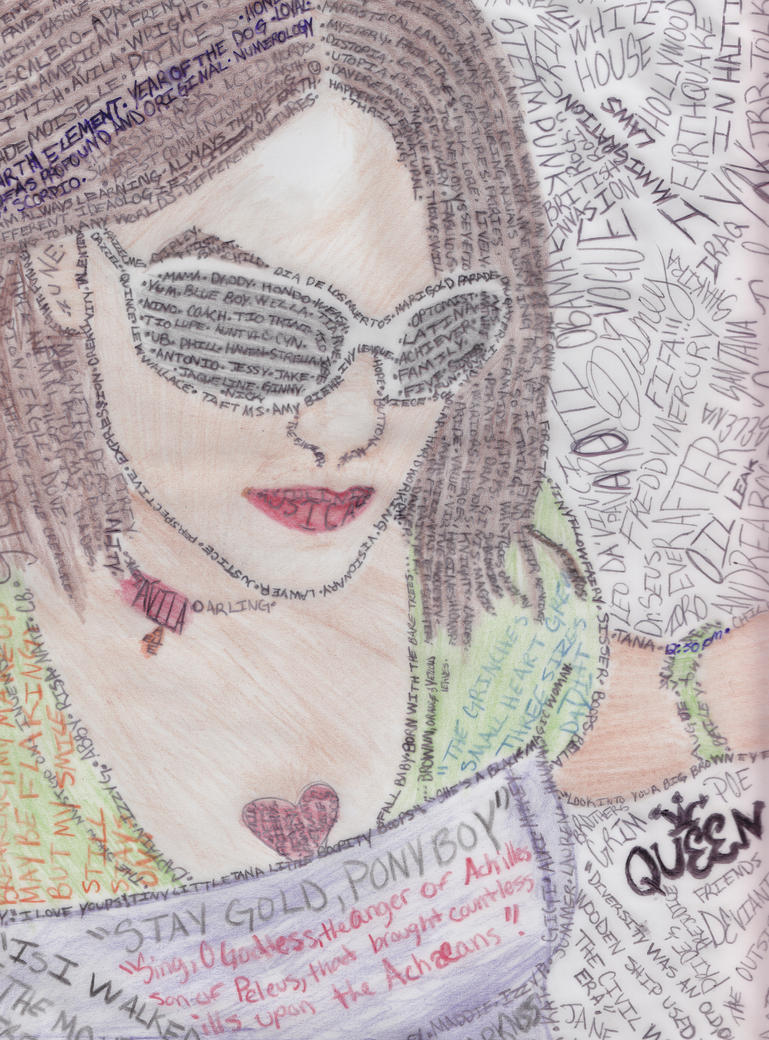
There is also something neat called a "Calligram"
...in which an artists write words in different sizes/spacing/colors to create different values (similar to spacing and pressure when cross hatching)... here is an example that I personally think needs to show a wider range of values, but it's set up well:
You really have a world of options for this project!
For even more inspiration and resources, visit Ms. Walker's Pinterest board for this project here:
https://www.pinterest.com/cwalkerart/grid-self-portrait-in-colored-pencil/




No comments:
Post a Comment