Since the portal is down, this is where you can access:
- Syllabus
- Class Procedures (super short version)
- What is Marketing?
- Get to Know You Activity slide
Since the portal is down, this is where you can access:
Thank you, campers and families, for a wonderful week!
Our projects this week:
More to explore:
We built our circuit for the buzzing timer we gave you based on this tutorial by Becky Stern for Adafruit: Buzzing Mindfulness Bracelet

If you need to update the code on your Gemma M0, you can head to this page of the tutorial
You don't need the "Code Writer" program that we used at camp to make changes to your code -- you should be able to use any text editor, like TextEdit on Mac or Notepad on Windows.

If you like coding in MakeCode and feel comfortable with that from playing with your Micro:bit, there is also a version of MakeCode that is compatible with the Gemma M0, which you can find here:
- About MakeCode for Gemma
- Direct link to MakeCode (add "Gemma" as your board after you click "new project")
If you want to learn more about the Gemma M0, here is the official Adafruit overview for the product, and here is an overview from CircuitPython


Disclaimer: For use with Adafruit LiPoly/LiIon batteries only! Other batteries may have different voltage, chemistry, polarity or pinout. More details here.
Below are some links and resources to help you get started and stay inspired.
Where to code:
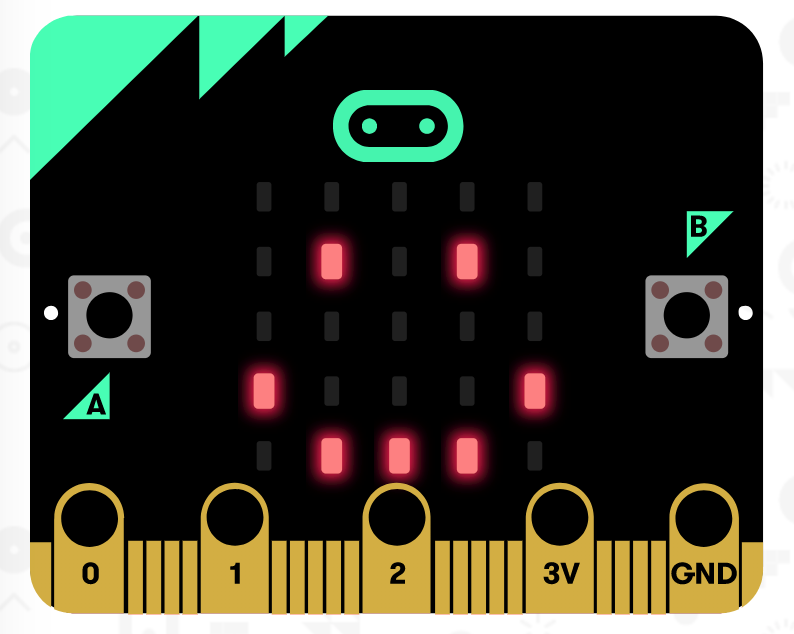
Learn about your Micro:bit
(you have a version 1 device if you got it from Wearable Tech camp in July 2022)
Where to find ideas for projects:
There are a ton of companies that sell cases, accessories and kits that let you build robots, games, wearables, useful home projects, and more using your Micro:bit. The sky is the limit!
Here is a Google Doc with instructions for how to:
https://docs.google.com/document/d/17bqlngmfGonzOEFuwvbZh1goNav2oUV8-XM478xvnbw/edit?usp=sharing

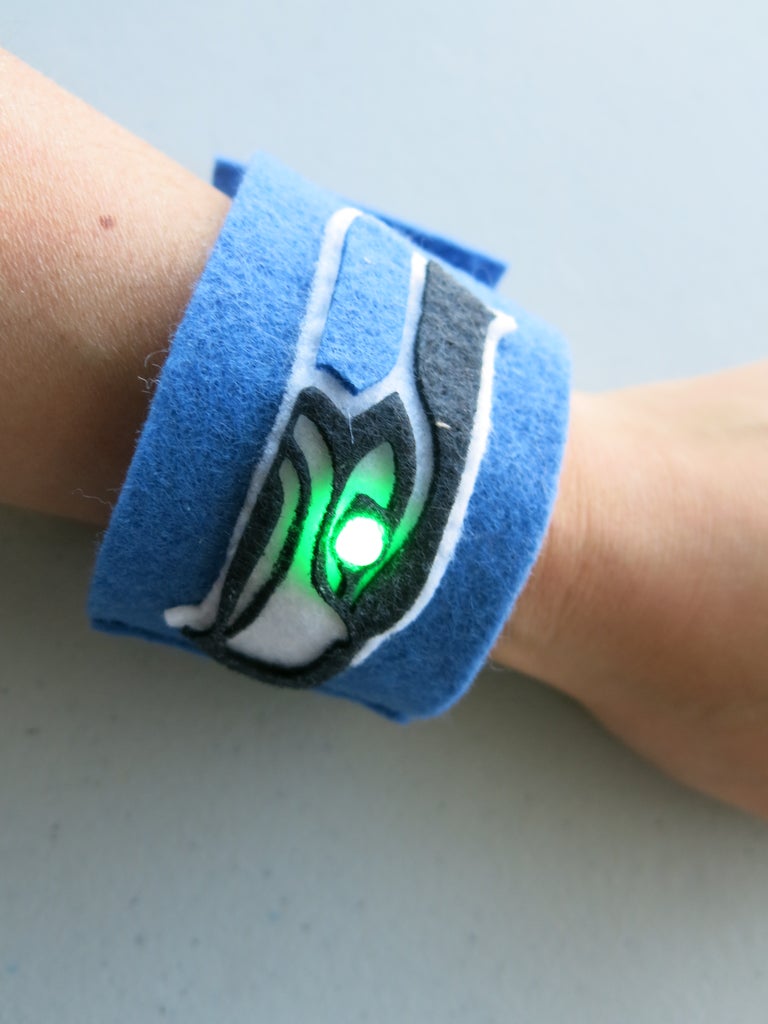
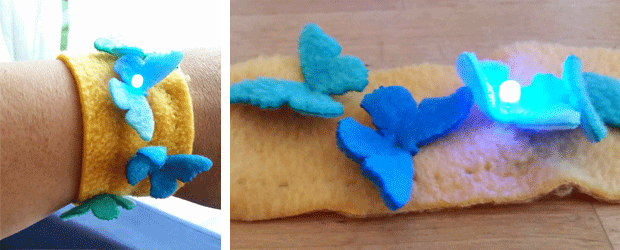
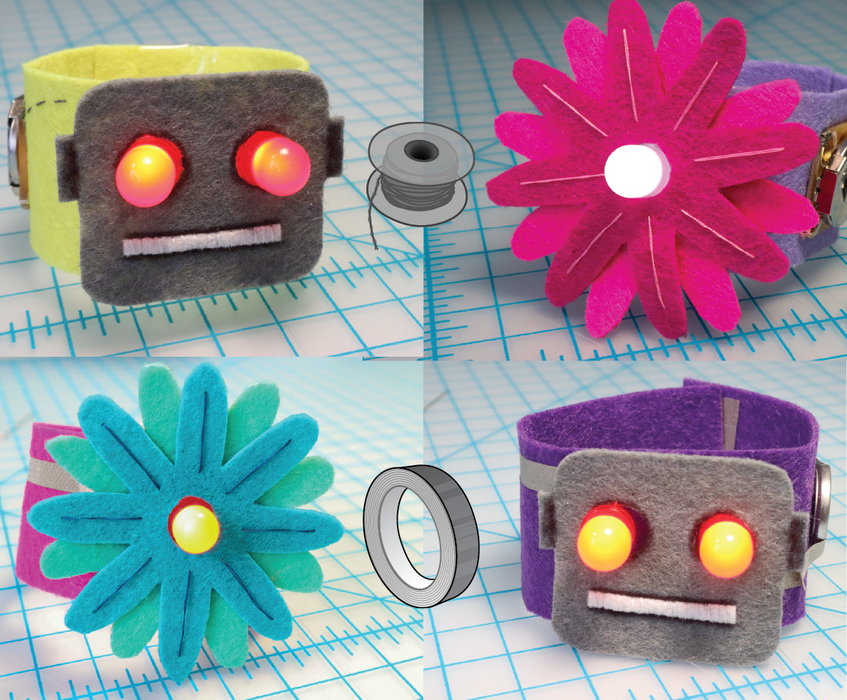
We are going to use these two tutorials:


1. No Sew Felt Wristband:
https://learn.adafruit.com/Learn-Soft-Circuits-No-Sew-LED-Wristband
2. Wristband with reed switch:

You will use 5 sheets of drawing paper for each sketchbook.
You will use a pushpin to poke holes in the spine, then use your fingers to insert single staples, and use your ID card to flatten down the legs of the staples.
Check out this video tutorial for instructions: https://youtu.be/tn_Hq4nfOk8?t=72
Start at 1:12, Stop at 3:48
Some notes:
Unless you are a remote learner, keep one sketchbook in the classroom to use in September, and bring one home.
When you are finished you can start decorating your sketchbook or draw in it :)
